- Pack of 4 (Mini)
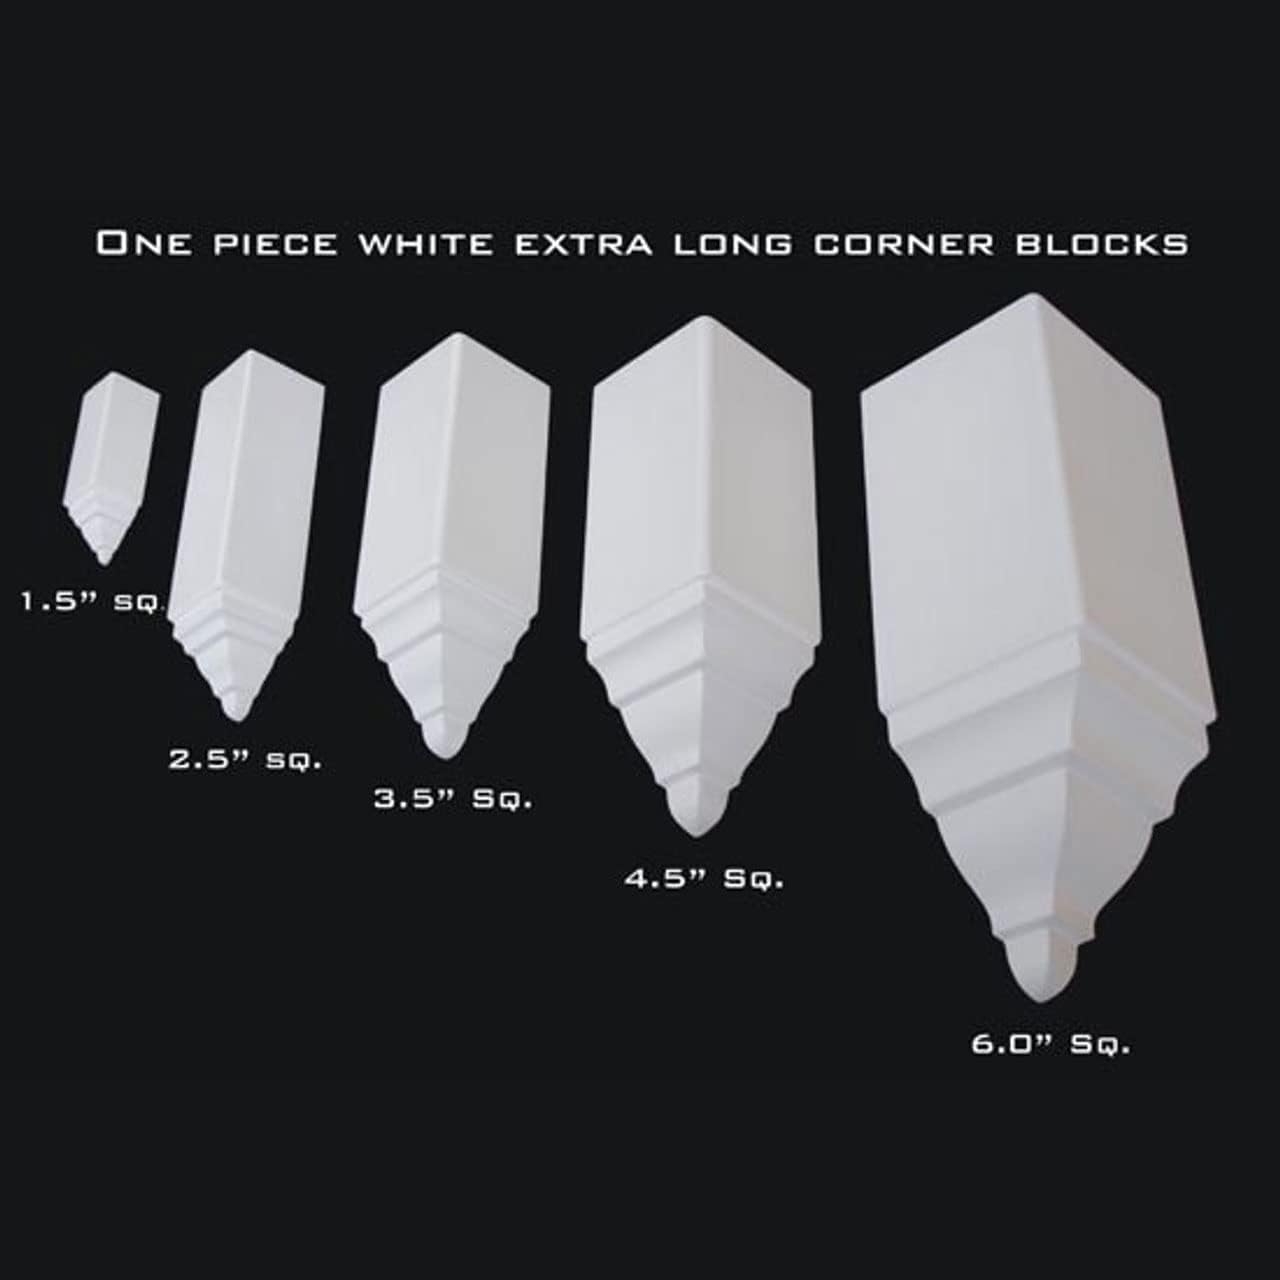
- Dimensions: 1.5 x 1.5 x 5.25 inches
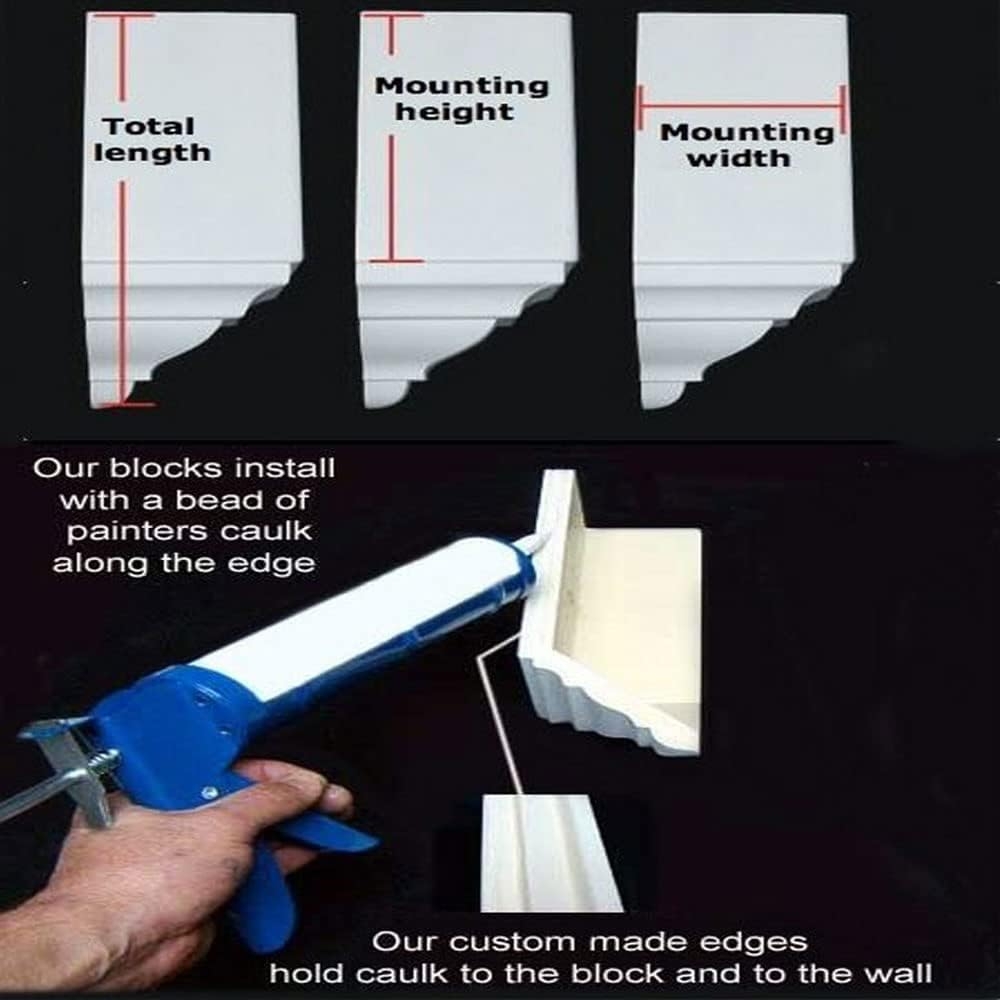
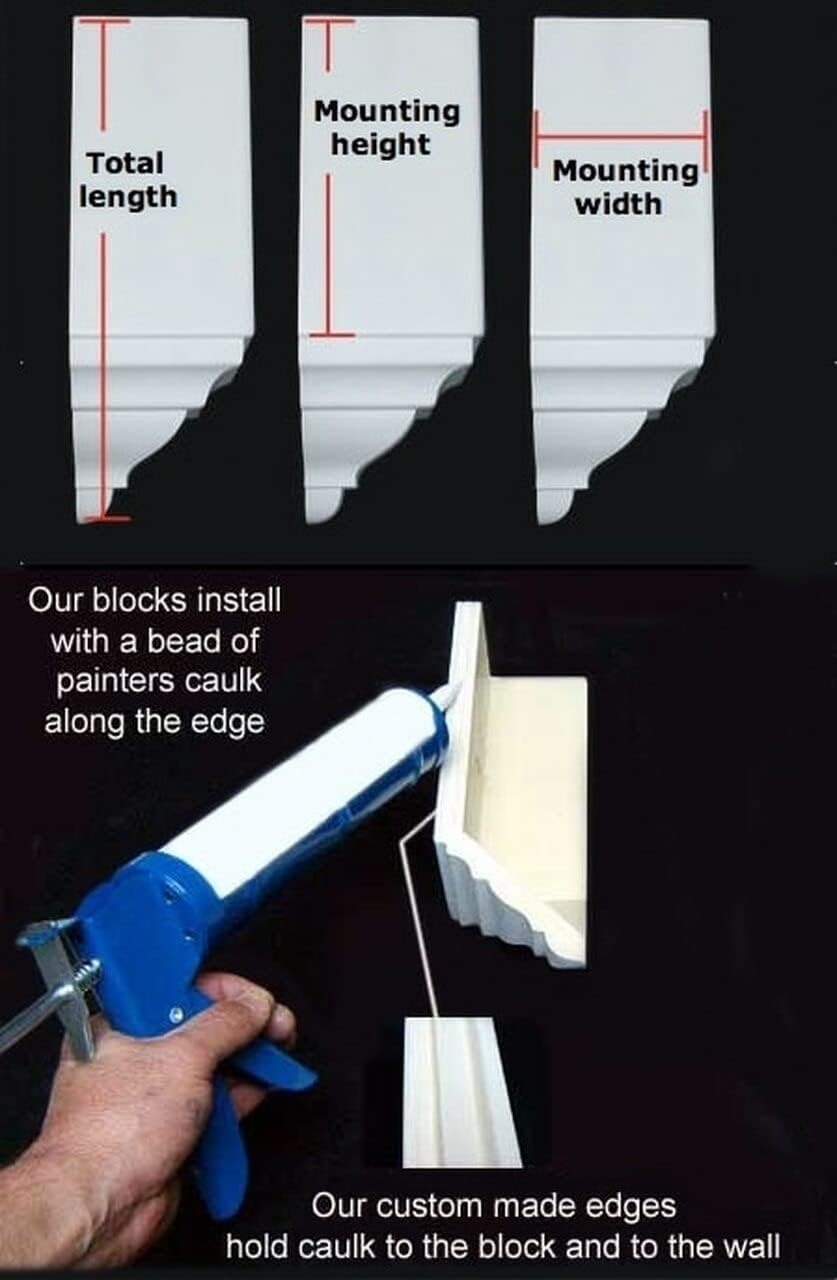
- Easy DIY Installation ( Installs with painters caulk)
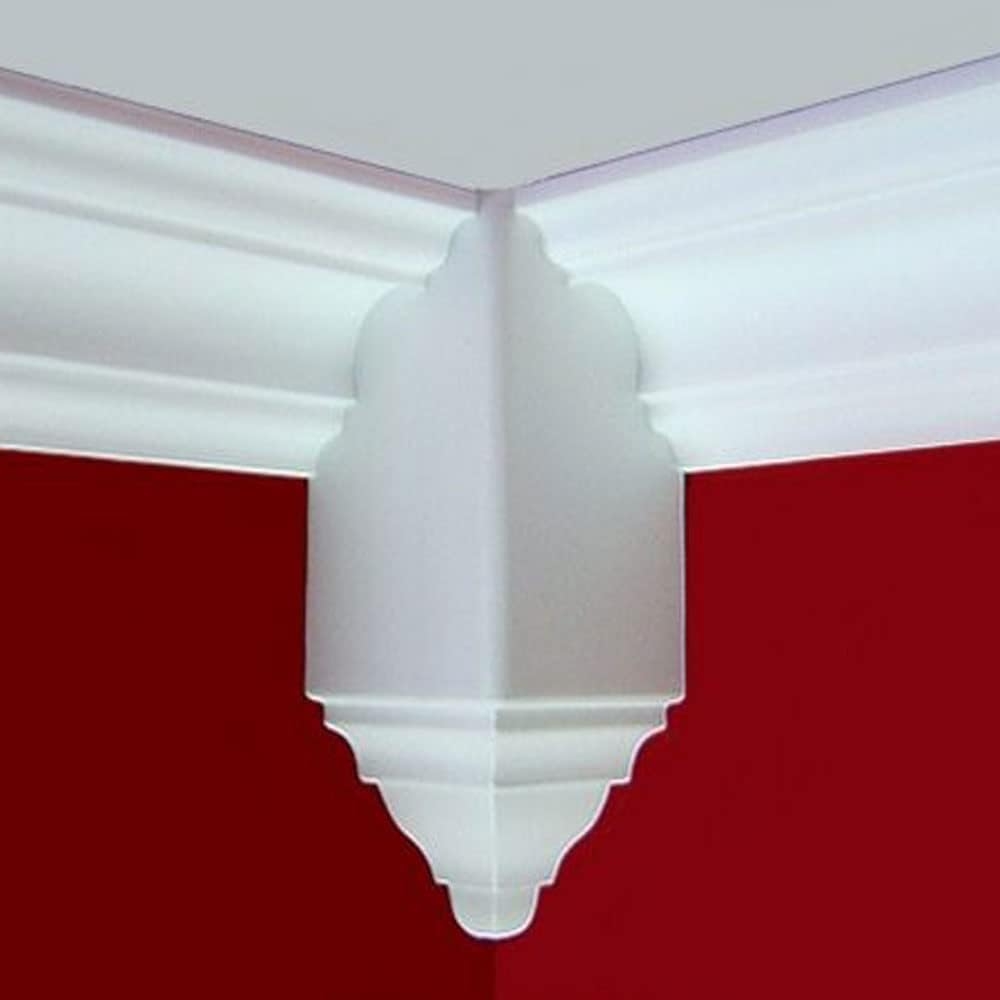
- Mini – mounting width: 1.5″ – mounting height: 4″ – total height: 5 1/4″
- Light Weight. Does not Contract or Expand
From the manufacturer

Seamless Elegance for Your Ceiling Makeover
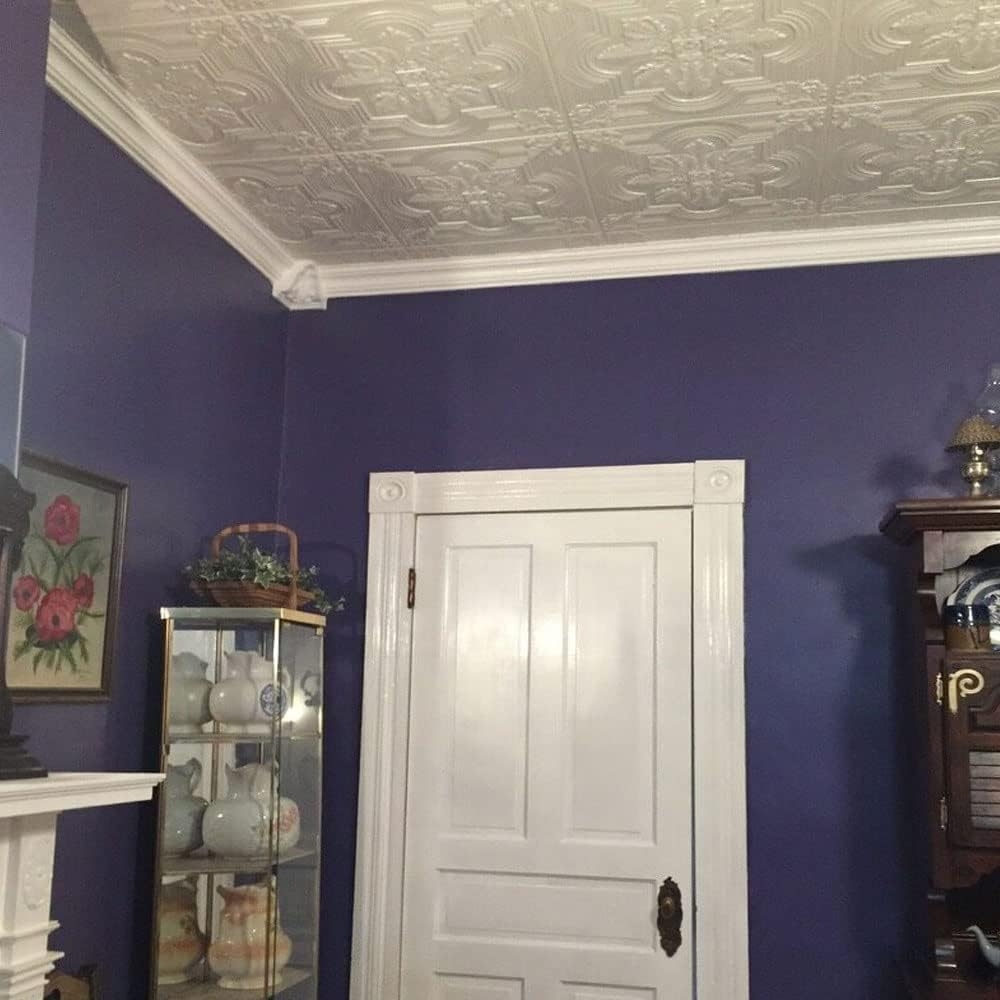
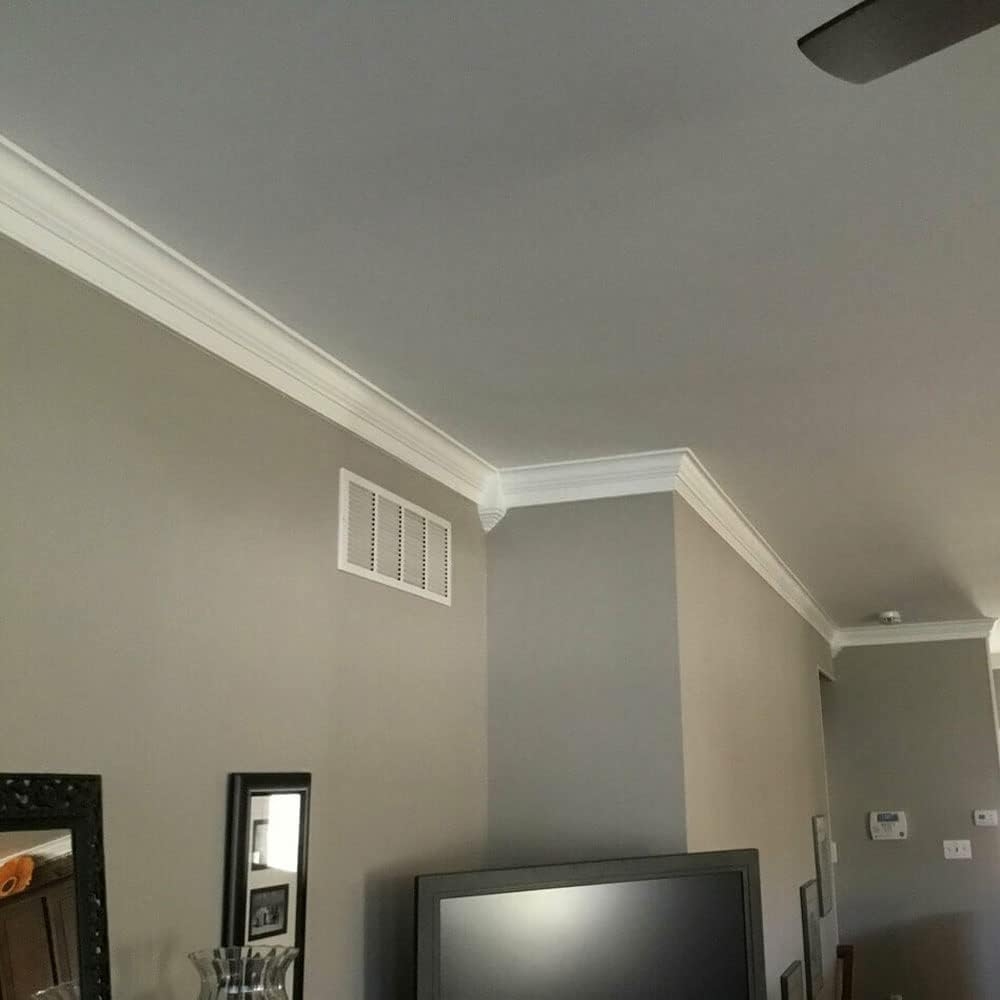
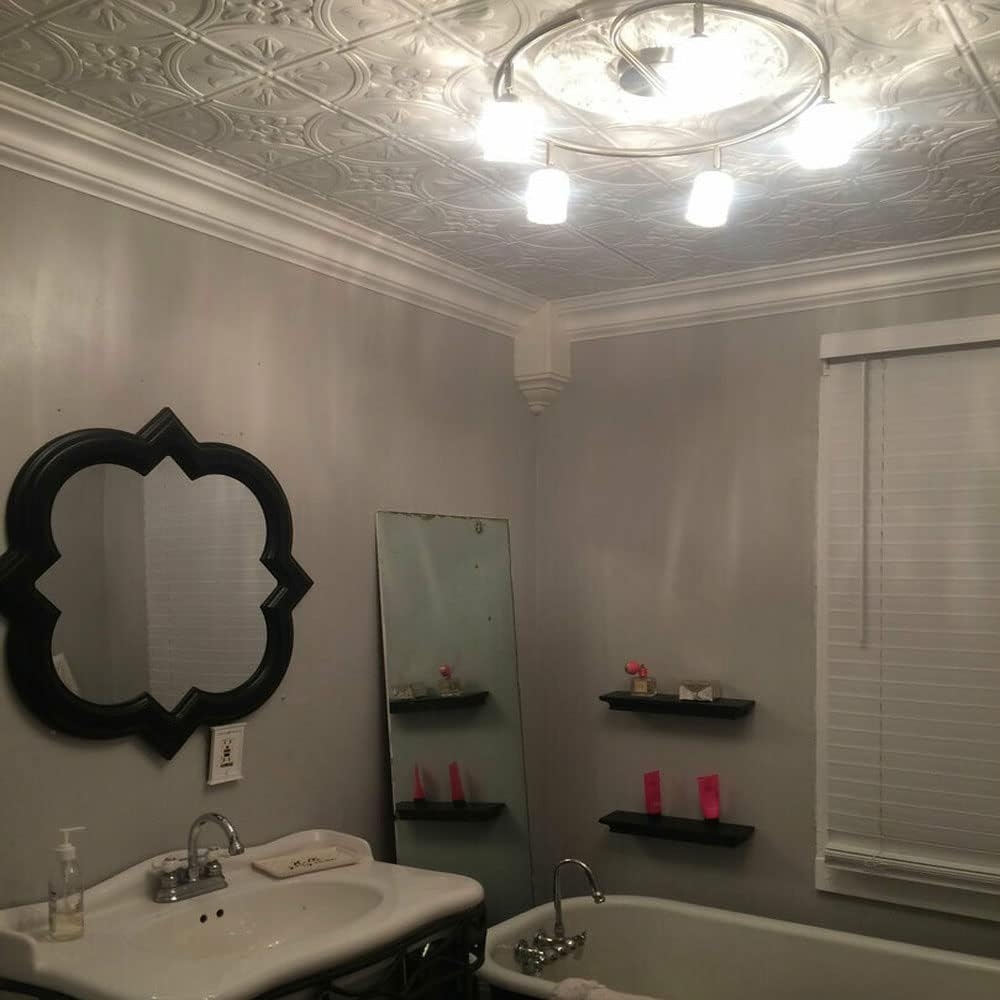
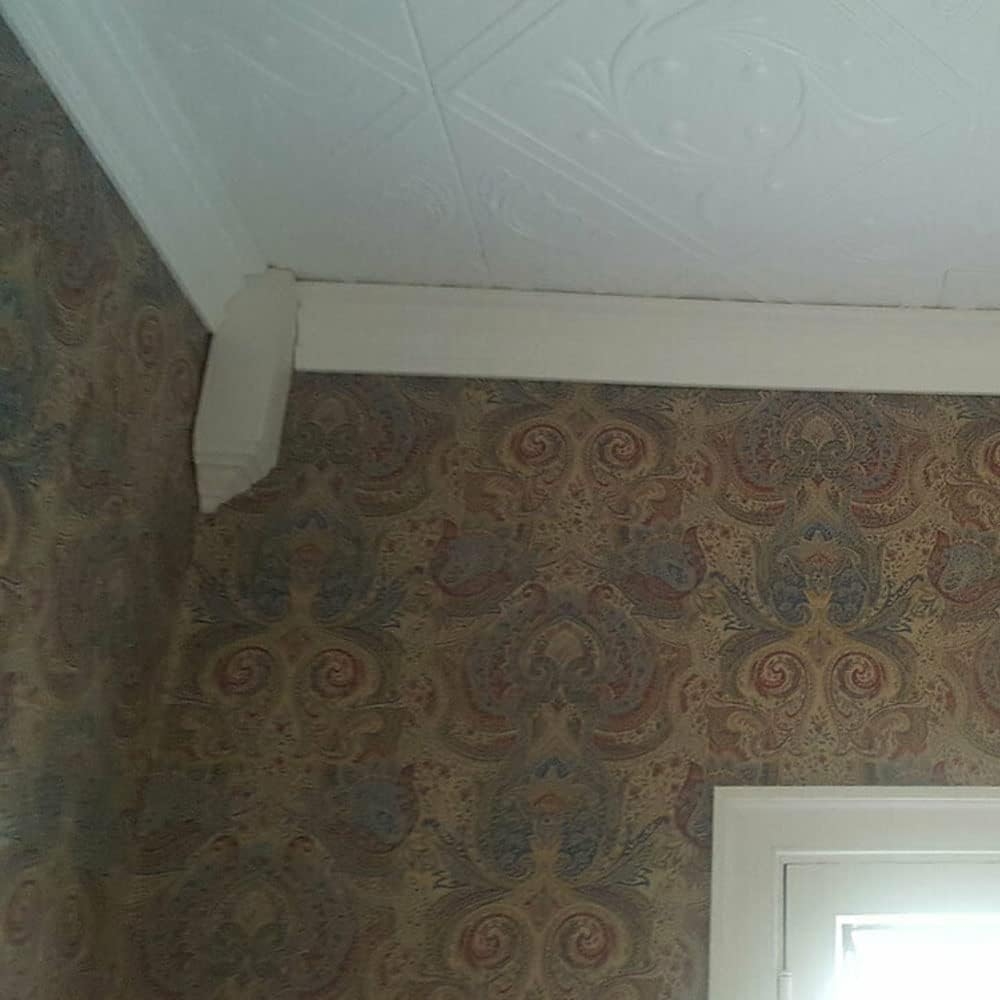
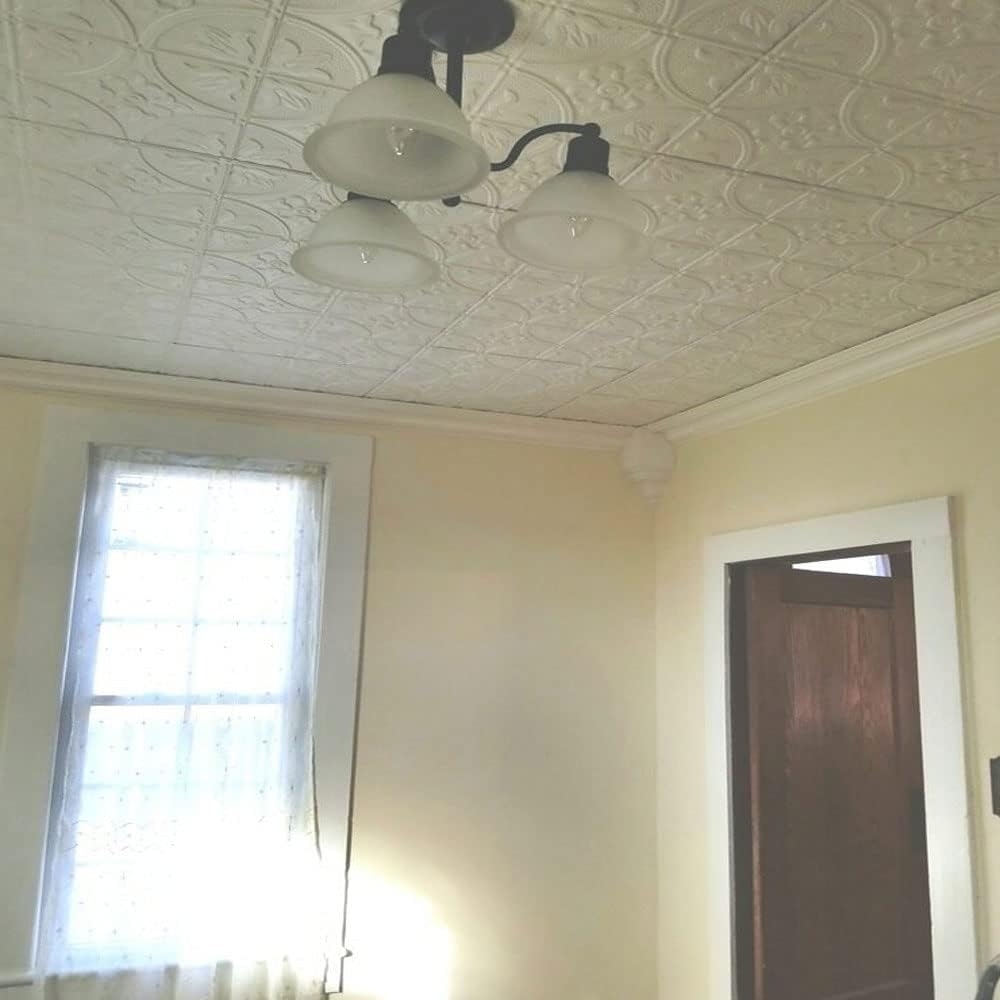
Revamp your interior design effortlessly with our versatile foam crown molding blocks. Perfectly crafted for inside, outside, and diverse corner applications, these blocks offer a seamless connection for your crown moldings. You can even merge two blocks to create a stunning center piece, adding an exquisite finish to your ceiling.
Available in five sizes ranging from mini to giant, these molding corners are compatible with all our do-it-yourself crown moldings. Plus, they’re easily paintable with any water-based paint, ensuring you achieve the ideal look for your space. Elevate your home’s aesthetics with these customizable and easy-to-install crown molding solutions.
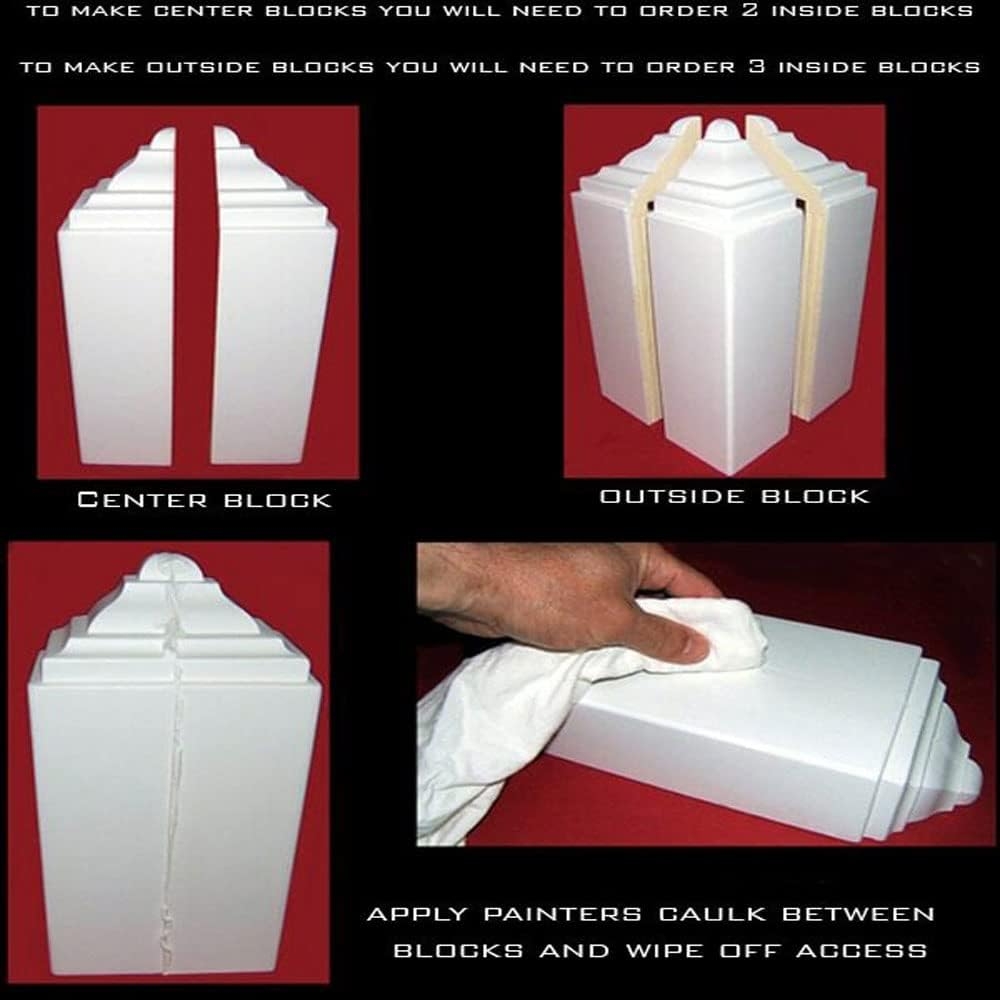
Crafting Outside Corners & Center Blocks: Easy with Crown Molding Blocks

Easily assemble outside corners or center blocks by using painter’s caulk to join crown molding blocks together. Check out the image for a visual guide on this straightforward process.
Effortless Assembly: Pre-Cut Inside Corners Molding Guide
|
|
|
|
|---|---|---|
Analyzing Molding Configuration |
Setting Up Molding PartsPosition the molding segments correctly against the wall and ceiling to create a 90-degree corner. Start by snugly placing the corner pieces, ensuring they fit tightly and align perfectly on both surfaces. |
Assembling the CornersSecure the corner pieces in place and proceed to connect the full-length segments. Ensure these pieces lay flat against the wall and ceiling, creating a seamless and precise assembly for the inside corner. |
Craft Perfect Edges: Pre-Cut Outside Corners Molding Assembly Guide”
|
|
|
|
|---|---|---|
Identifying the Face and OrientationBegin by recognizing the face of the molding, which aligns with how it fits on the wall and ceiling. The top part of an outside corner is consistently longer, creating a distinctive profile when the pieces are joined. Ensure the flat parts of the molding correspond to the wall and ceiling. |
Assembling Outside Corners |
Placing Molding SegmentsOnce the corners are in place, begin by fitting the inside corners followed by the outside corners. Complete the assembly by connecting the full-length segments between the corners. This method ensures a seamless pattern along the wall and ceiling, guaranteeing a cohesive and refined final appearance while preserving the corners’ structural integrity. |
Product Description
Our crown molding inside-corner blocks are designed to smoothly join and complement our do-it-yourself crown molding strips. These stylish blocks can also be used to create crown molding outside-corner blocks perfect for transitioning your molding around corners for a seamless, professional look. Combine two crown molding inside-corner blocks to create a center corner block that adds an amazing finishing touch to your beautiful new ceiling. Corner blocks are easily painted with any water-based paint and glued together with painter’s caulk. They are available in five sizes ranging from mini to giant, so there is sure to be one to fit any of our do-it-yourself crown moldings. Crown molding corner blocks are a great way to connect your moldings in inside corners, outside corners, and anywhere in between.


