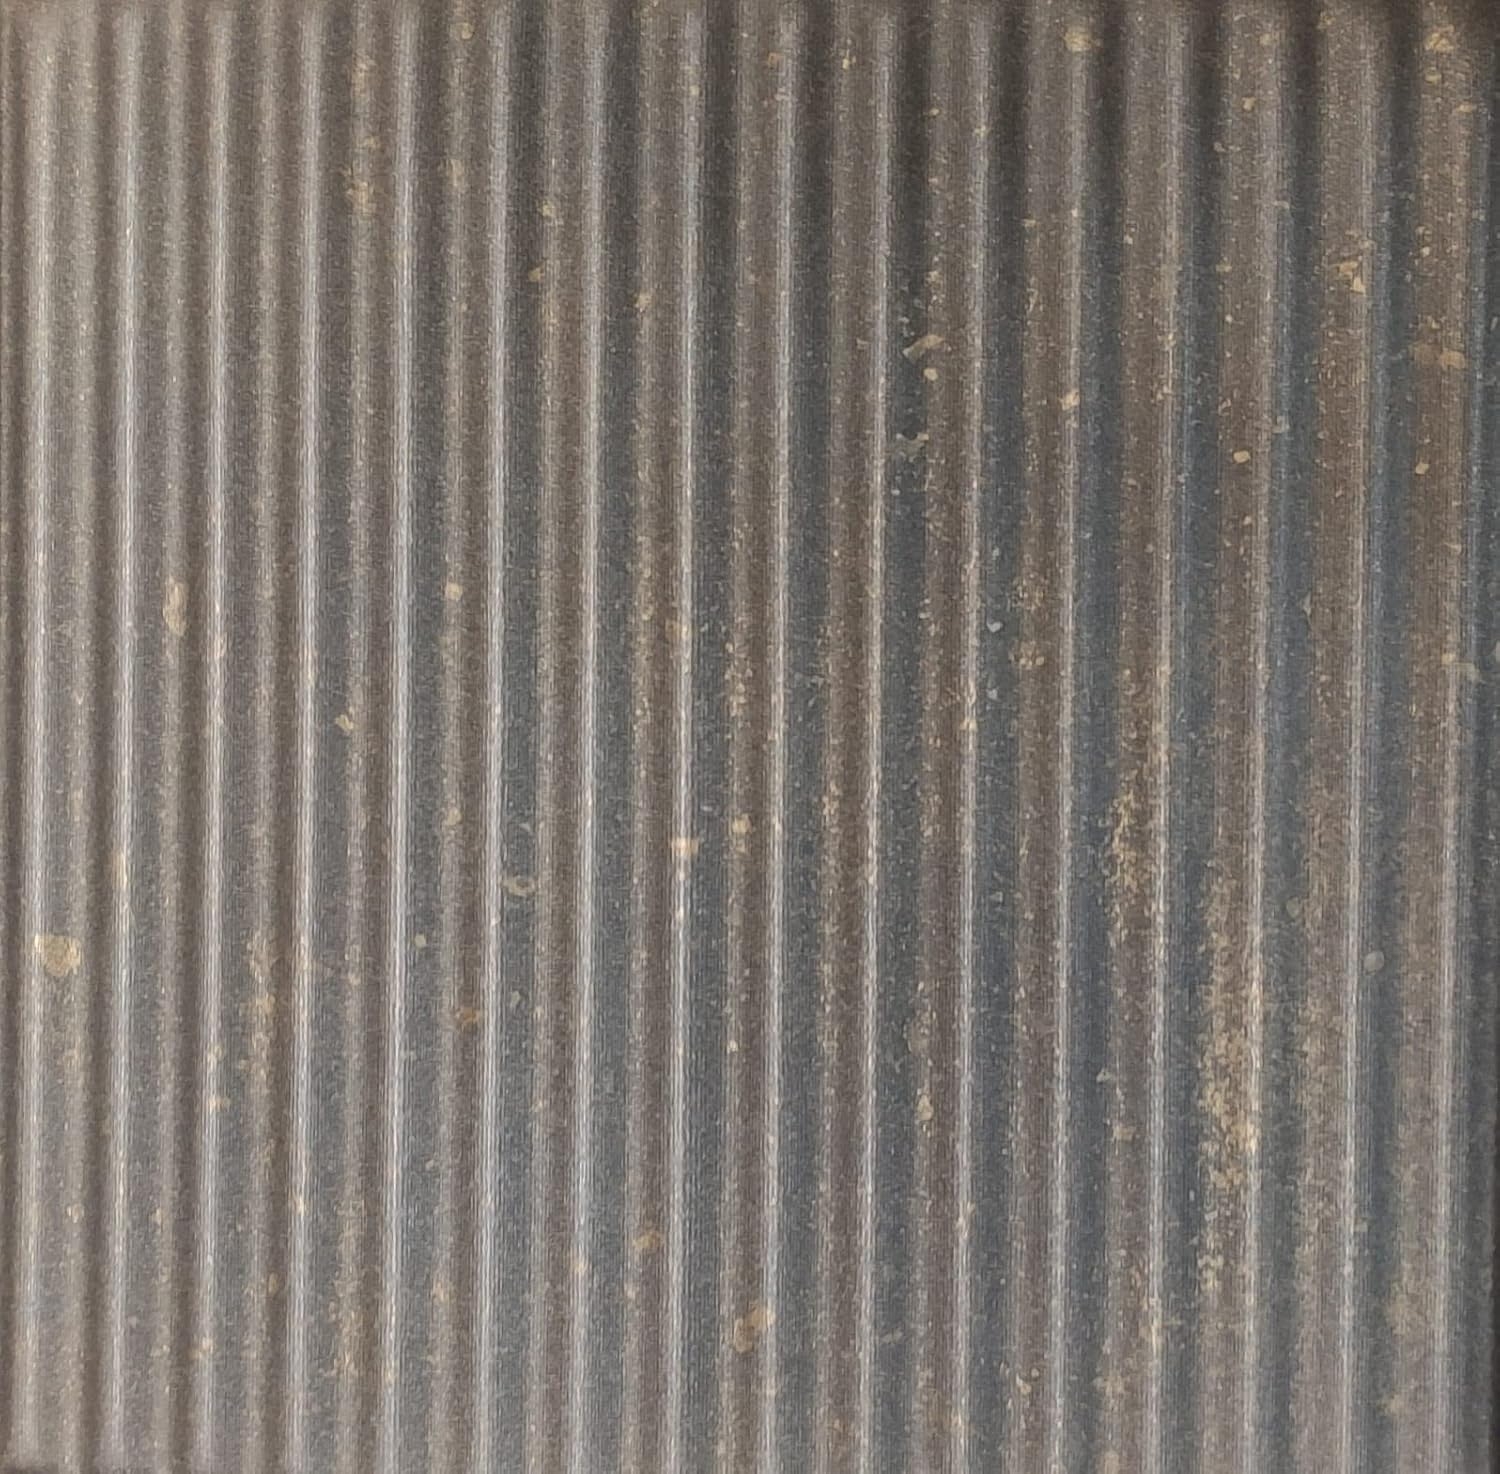
- Not for drop ceilings, not for commercial use. Very light weight, only 1 oz per tile. Instantly transforms most ceiling surfaces including popcorn, drywall, texture, concrete, plywood.
- Pre-painted using metallics paints by modern masters
- Easy glue up application|Use #310 Instant Grab | No Expensive Tools Needed
- Each case covers 21.6 sq. ft
- Excellent for all residential interior and exterior rooms including kitchens and bathrooms

From the manufacturer
Easy DIY Installation Guide for Styrofoam Ceiling Tiles
 |
|
|
|
|---|---|---|---|
Step #1) Proper SurfaceStyrofoam ceiling tiles can be installed on ceilings and walls covered with drywall, lime, lime-cement, dry plaster, chip-board, aerated concrete, masonry, silicates, and popcorned or textured ceiling finishes. When installing over any existing ceiling material, the surface should be dry, stable, even, hard, and free of any dust or debris. Important!!! Do Not attempt to apply Styrofoam ceiling tiles over a popcorn ceiling that is soft or unstable. If the surface falls into these categories or is questionable, always remove the popcorn before installing the tiles – simply soak the popcorn with water and scrub it off the surface. |
Step #2) Preparing The SurfaceBefore installing decorative Styrofoam ceiling tiles on any surface, it should be cleaned of any dust, grease, wax, or any other dirt that may be present. If the surface displays any cracking or other defects, these defects should be corrected with filler prior to proceeding with the tile installation – cracking or flaking paint should also be removed. |
Step #3) Take Your TimeWhether you’re an experienced DIYer or attempting your first project, installing decorative ceiling tiles is a job where planning is just as important as the actual installation — taking a little extra time in this phase can result in a more attractive ceiling. |
Step #4) Find Ceiling CenterStarting in the center of your room with your Styrofoam decorative tiles normally provides the most appealing layout – in many cases you may already have a ceiling fan or light in this spot, but if not, use the string method to determine the room’s center. Stretch two strings across the ceiling at a diagonal from opposite corners and where they cross should be the center – finish nails can be used to secure the ends of the strings or ask a helper to lend a hand. Draw two perpendicular lines where the strings cross to divide the ceiling into four quadrants. |
Applying Adhesive, Proper Adhesion, Cutting & Caulking
|
|
|
|
|
|---|---|---|---|
Step #5) Applying Adhesive |
Step #6) Installing First Ceiling TileMeasure across the ends of your room and make a mark on the ceiling at the center of each wall taking into account any offsets or unique situations that may affect the measurements. Use your chalk line to snap a line through the exact center of the room previously marked to perimeter wall centers – this should provide square lines to guide the installation of your first tile and those that follow. Before installing any tiles stand back and inspect the lines to ensure they appear correct. Place adhesive on the back of your first tile and press it into place with one corner in the marked center of the room. Make sure the edges follow your chalked lines. |
Step #7) Full Tile Installation and Proper AdhesionNow the real fun begins. Start installing your full tiles, aligning them with the adjacent once for nice looking results. Make sure to press tiles firmly to the ceiling using full palms of your hands to avoid making dents with individual fingers. |
Step #8) Cutting and Installing Perimeter Tiles and Caulking |


